Before you start
You need:- Access to your Google Ads account.
- Access to the Tracking page in Eyk.
Part 1: Create conversion actions in Google Ads
1
Open Goals
Go to your Google Ads account and click Goals in the left-side menu.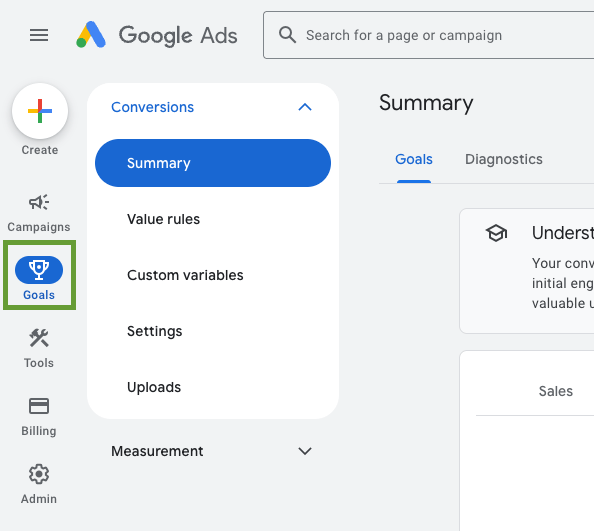
2
Create a conversion action
Scroll down and click + Create conversion action.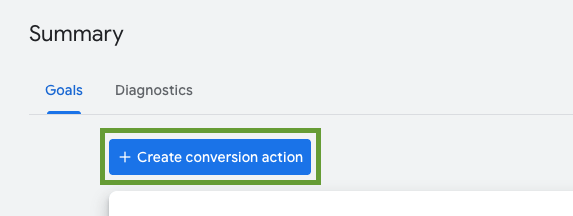
3
Select Website
On the next page, select Website.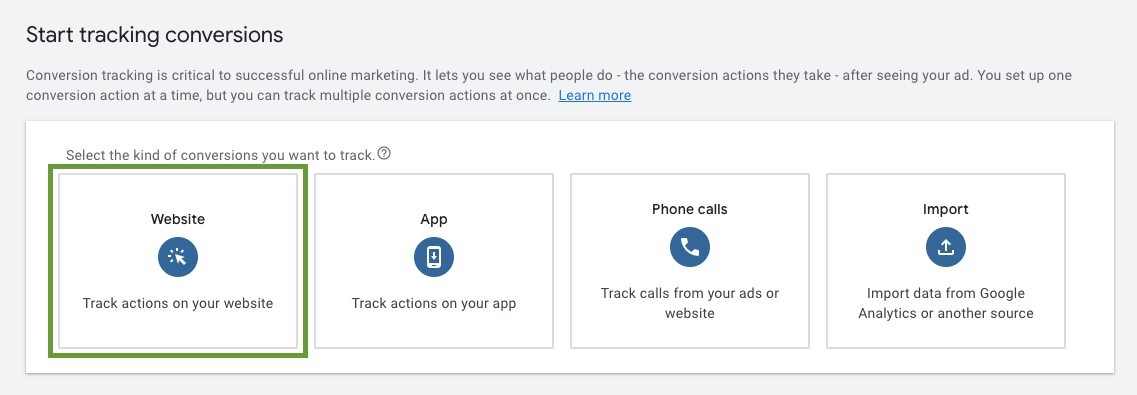
4
Scan your domain
Enter your website domain and click Scan.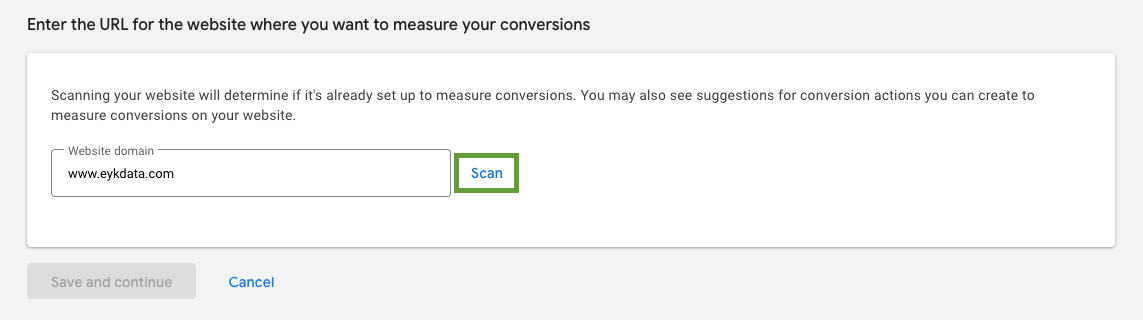
5
Use Google Ads only
If you see this note, click Use Google Ads only. Otherwise skip this step.
6
Add a conversion action manually
Scroll down to Create conversion actions manually using code and click + Add a conversion action manually.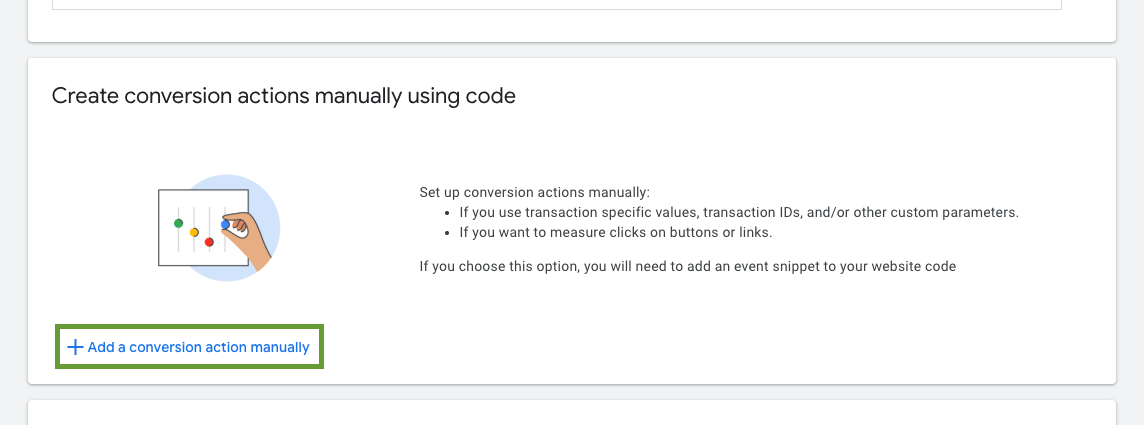
7
Select the Purchase category
Open the Select category drop down and select Purchase.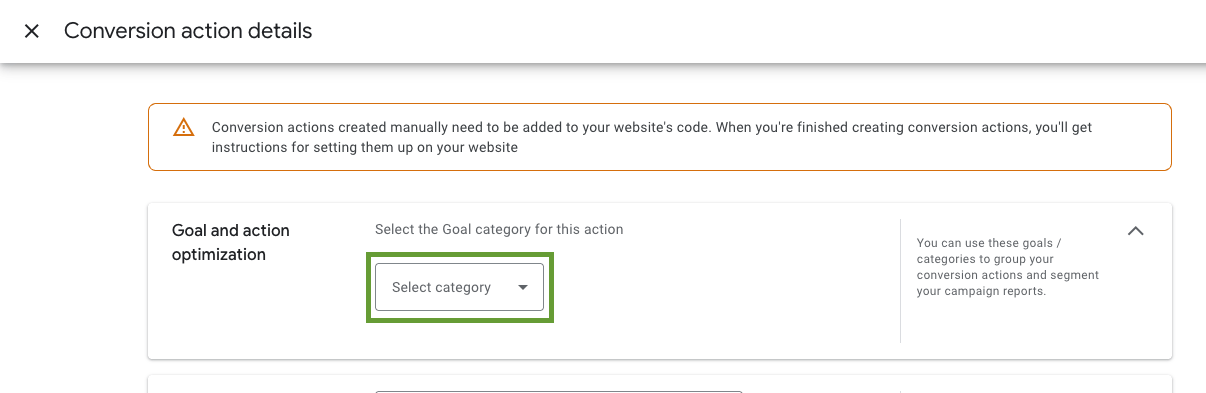
8
Set the action as secondary
Click Conversion action optimization options to expand it. Select Secondary action not used for bidding optimization.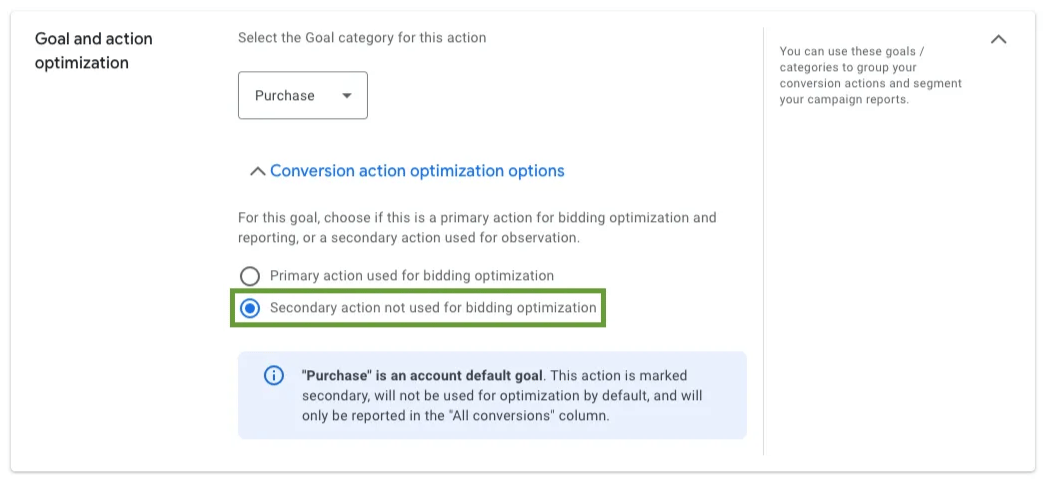
Google Ads needs a certain volume of data before a conversion action can optimize bidding. Keep your existing conversion action as primary and run the Eyk action alongside it for about two weeks.
9
Name the conversion
For Conversion name enter 
Purchase (Eyk).10
Keep default value and count settings
Keep the default settings under Value and Count. Under Value, Use different values for each conversion must be selected. Under Count, Every must be selected.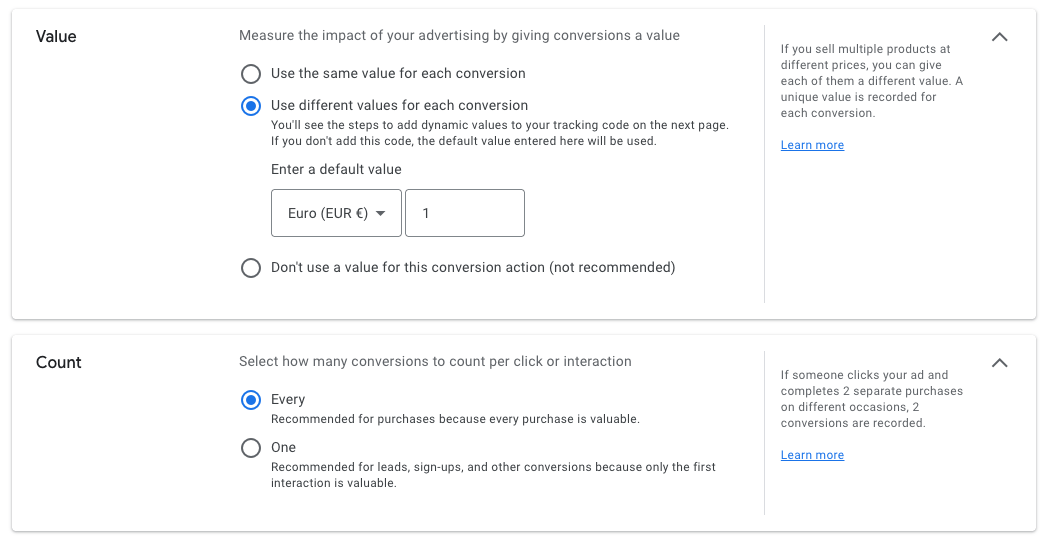
11
Enable enhanced conversions
Under Enhanced conversions, make sure Use enhanced conversions for this conversion action is selected. Then click Done in the bottom left corner.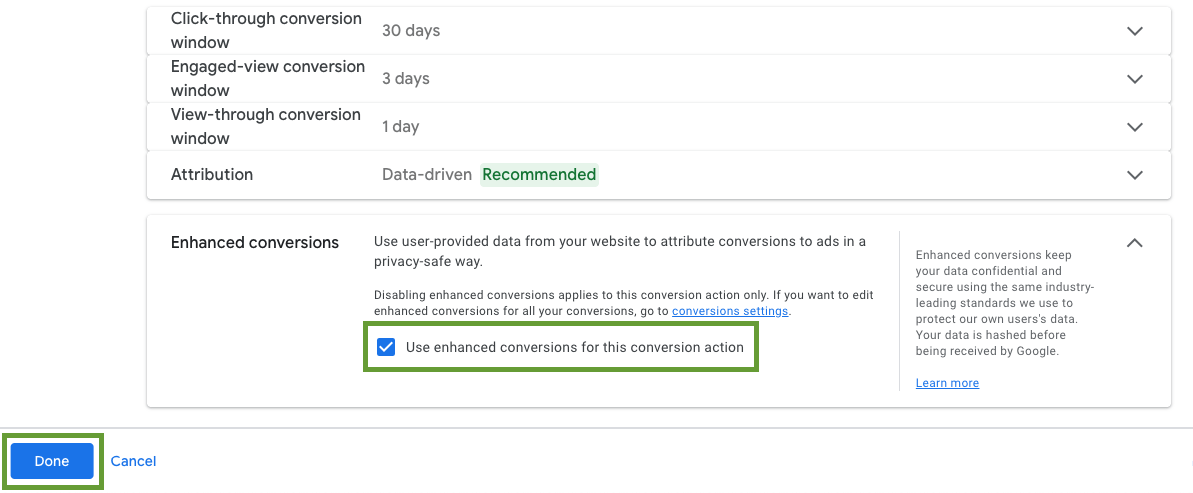
12
Repeat for the other conversion actions
Click + Add a conversion action manually. For the categories Add to cart and Begin checkout, repeat the steps from adding a conversion action manually to enabling enhanced conversions.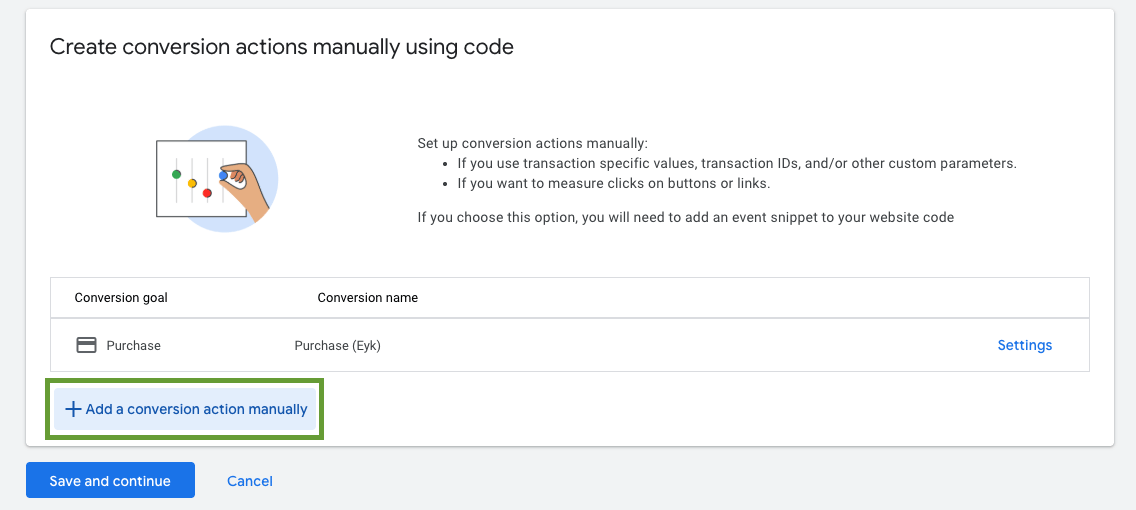
13
Save and continue
When Purchase, Add to cart and Begin checkout are all added, click Save and continue.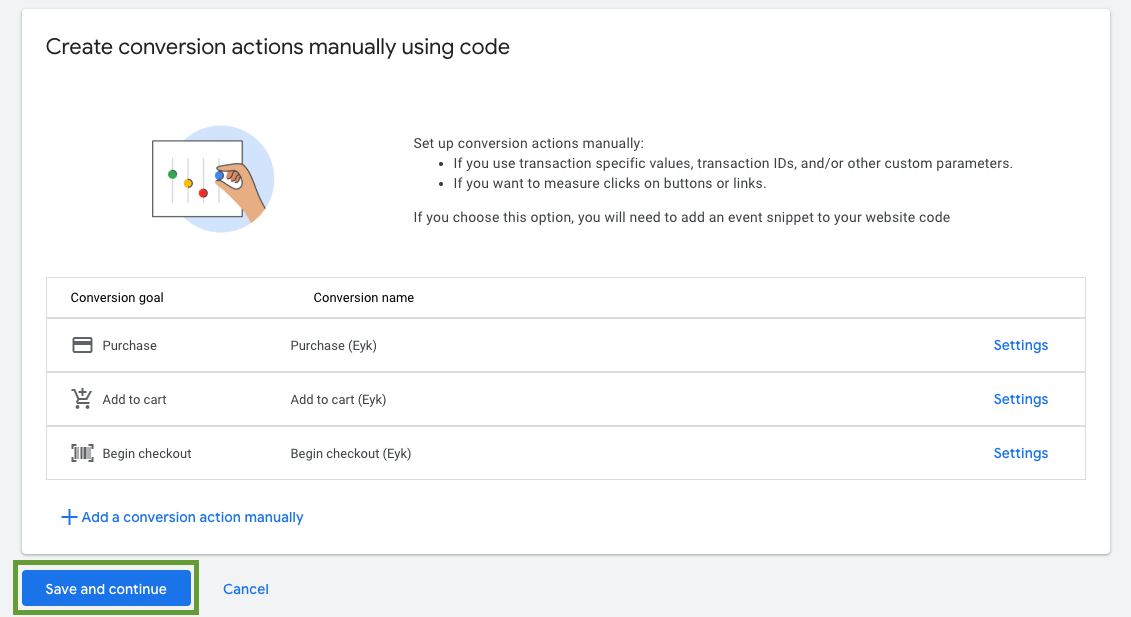
14
Use Google Tag Manager
On the next page, select Use Google Tag Manager.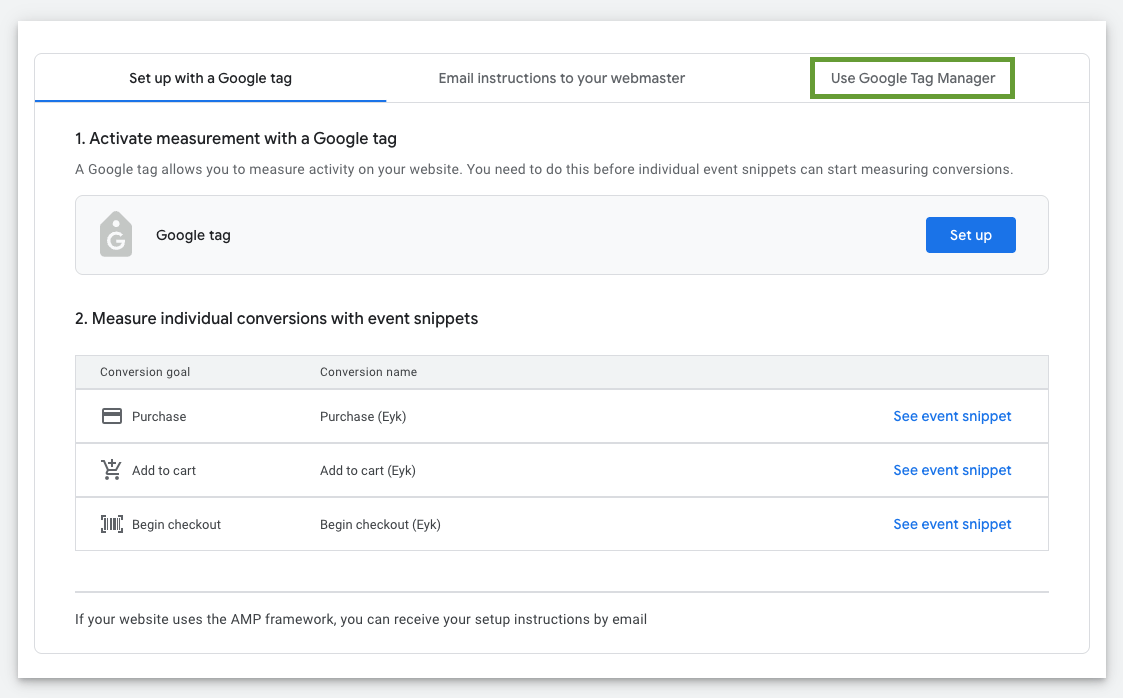
15
Copy the conversion values
Copy these values. You need them in Part 2: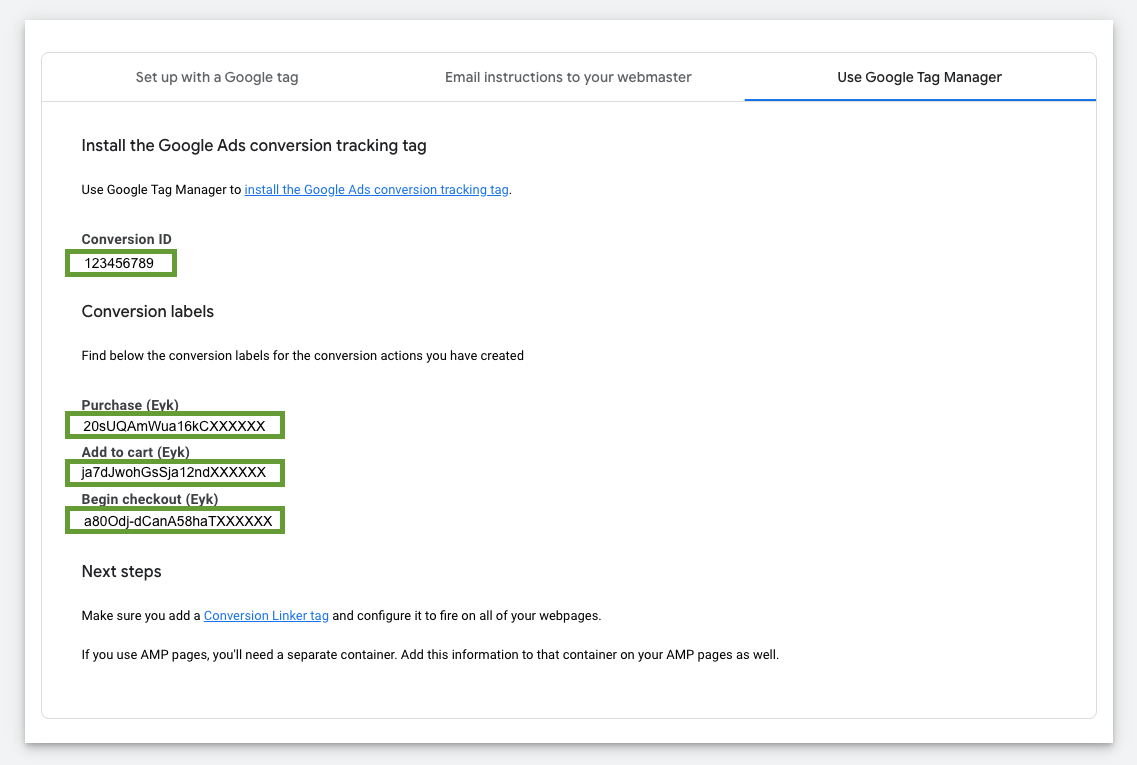
- Conversion ID
- Conversion label: Purchase (Eyk)
- Conversion label: Add to cart (Eyk)
- Conversion label: Begin checkout (Eyk)
Part 2: Add the destination in Eyk
1
Add a destination
In Eyk, go to Tracking and click + Add destination.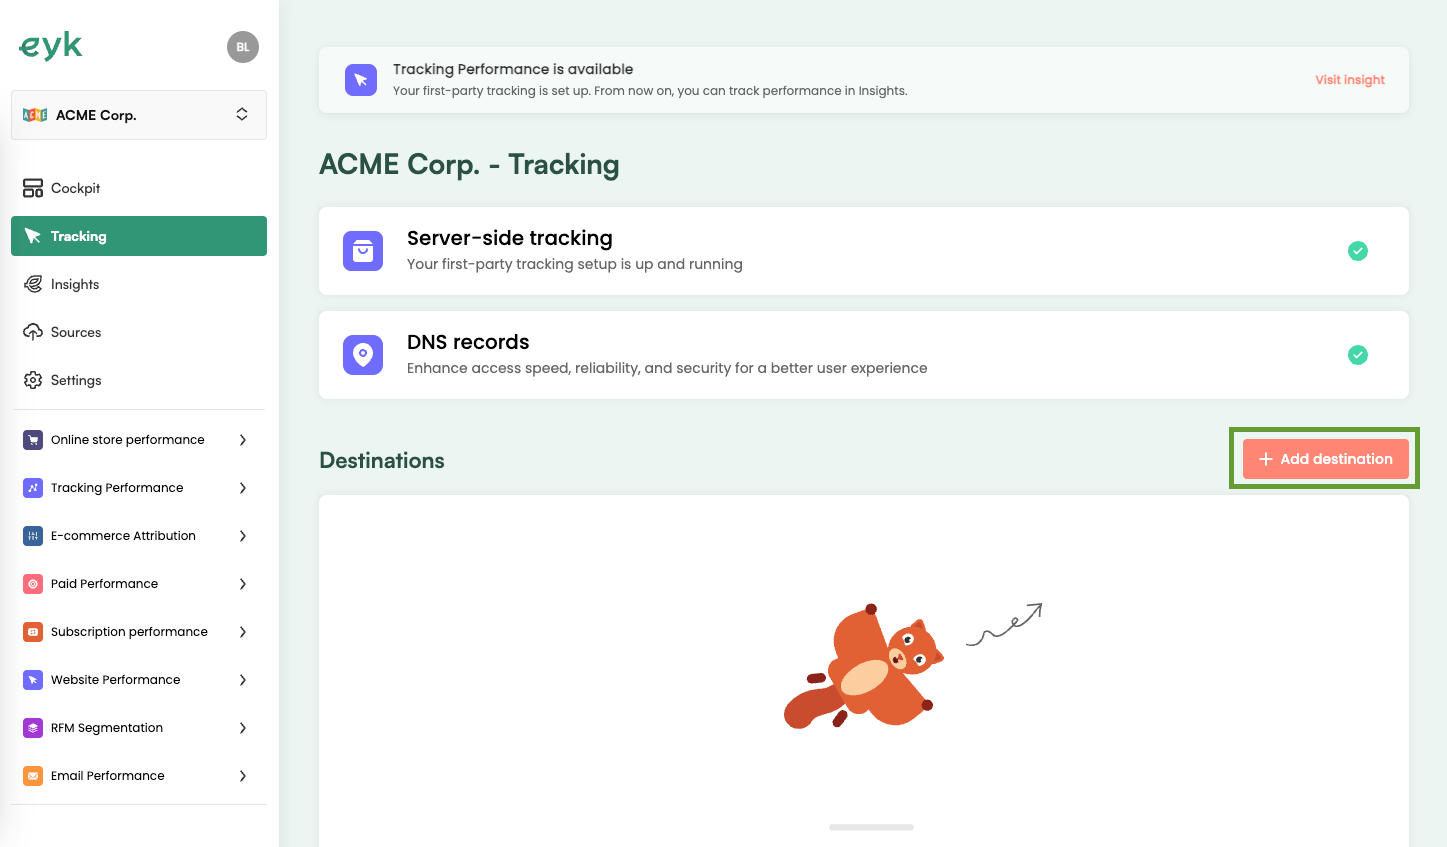
2
Select Google Ads conversion
Select Google Ads conversion from the list of destinations.
3
Start verification
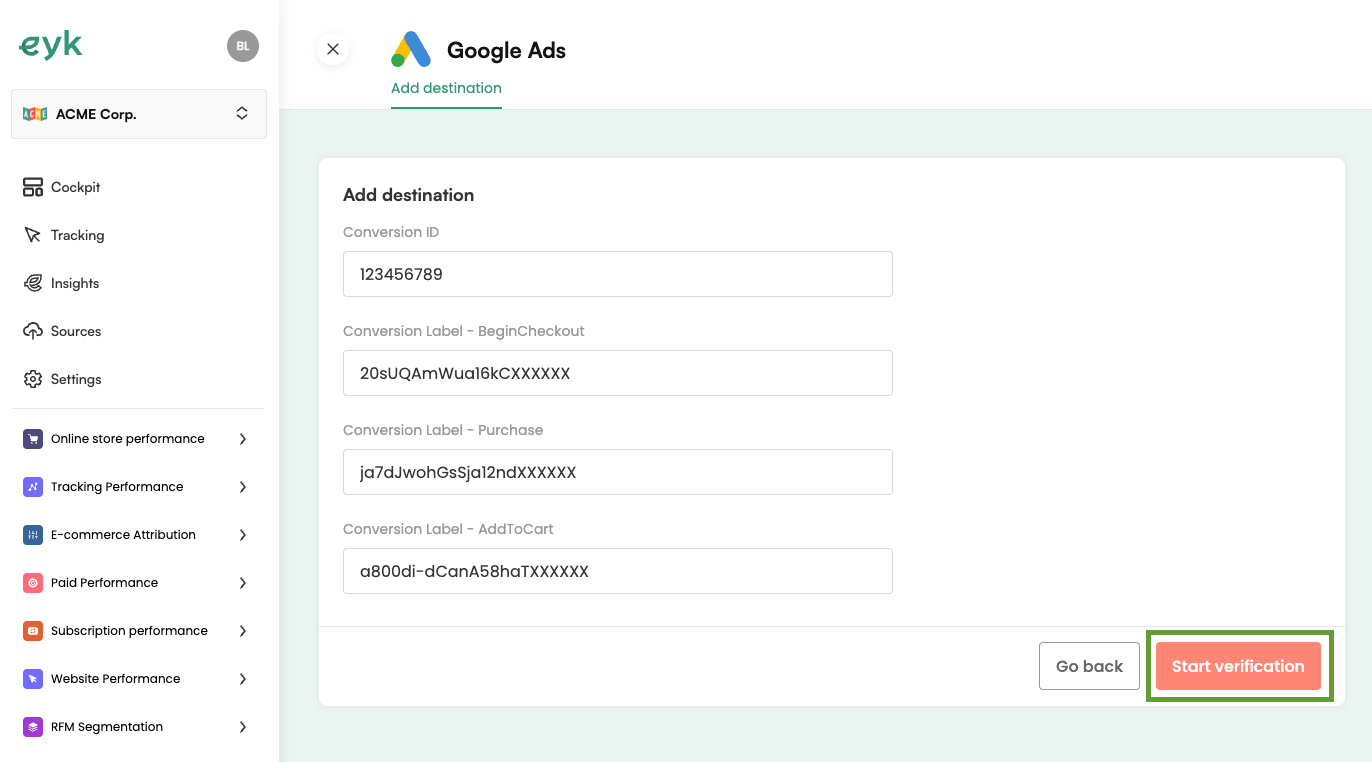
Enter the values you copied in Part 1 and click Start verification.