

The OpenAI Ads destination is only available on Eyk’s new tracking setup, which is currently in beta. Ask your Eyk contact person for access.
Before you start
You need:- Access to the OpenAI Ads Manager for your account.
- The beta tracking setup enabled in your Eyk environment.
Part 1: Get your credentials from OpenAI
1
Open Conversions
Go to OpenAI Ads Manager and open Tools >> Conversions.
2
Check for an existing data source
On the Data Source tab, check whether a data source already exists. If it does, open it, copy its ID and skip to the step “Create a conversion key”. If the tab reads You have not set up data sources yet, continue with the next step.
3
Create a data source
Click + Create in the top-right corner and select Data Source.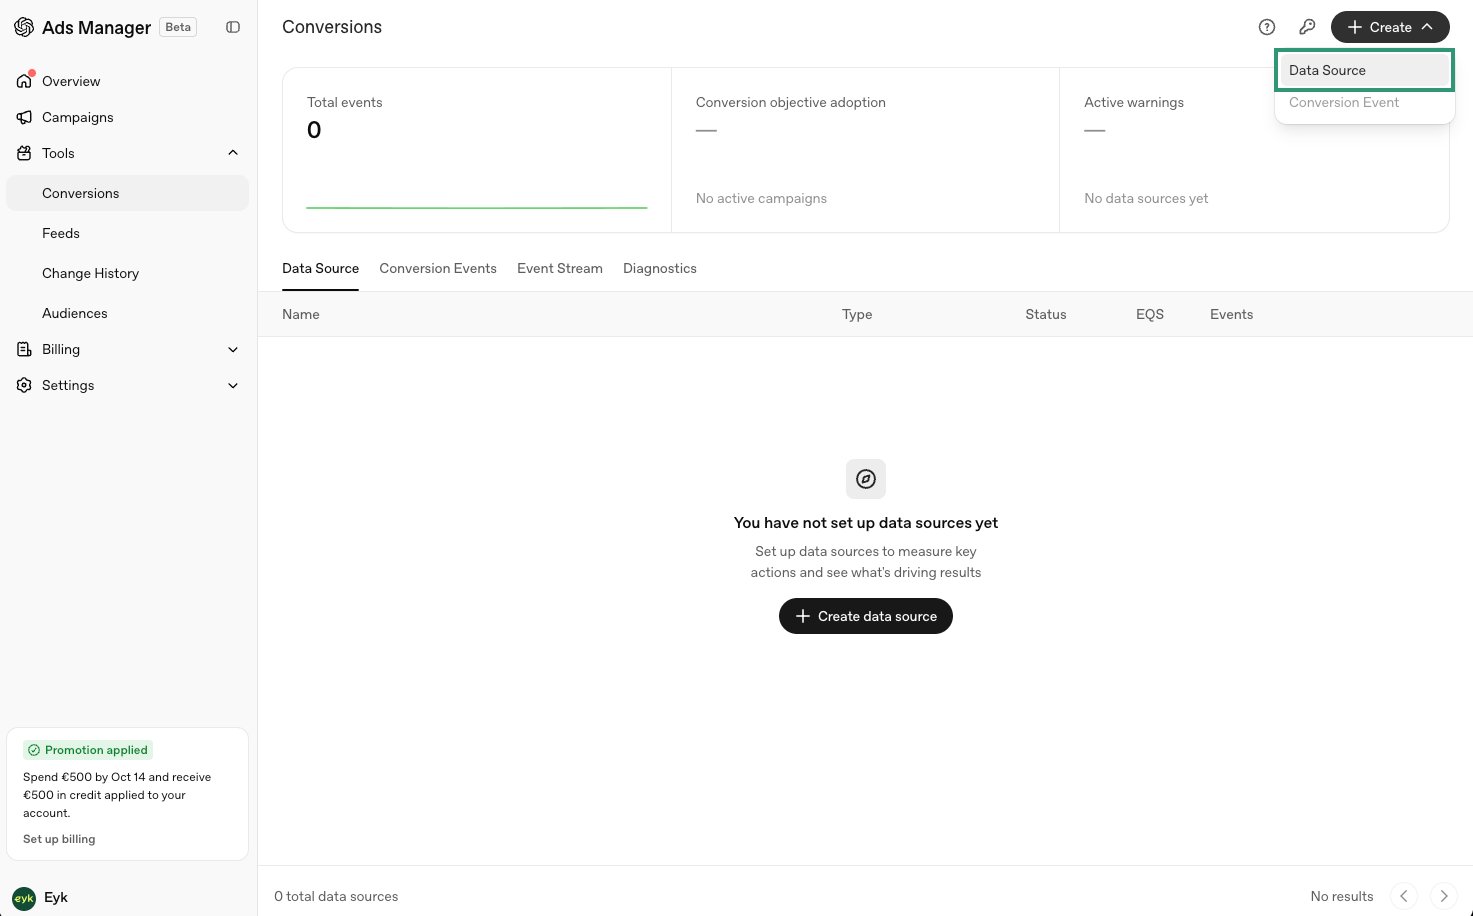
4
Name the data source
For Data Source Name enter 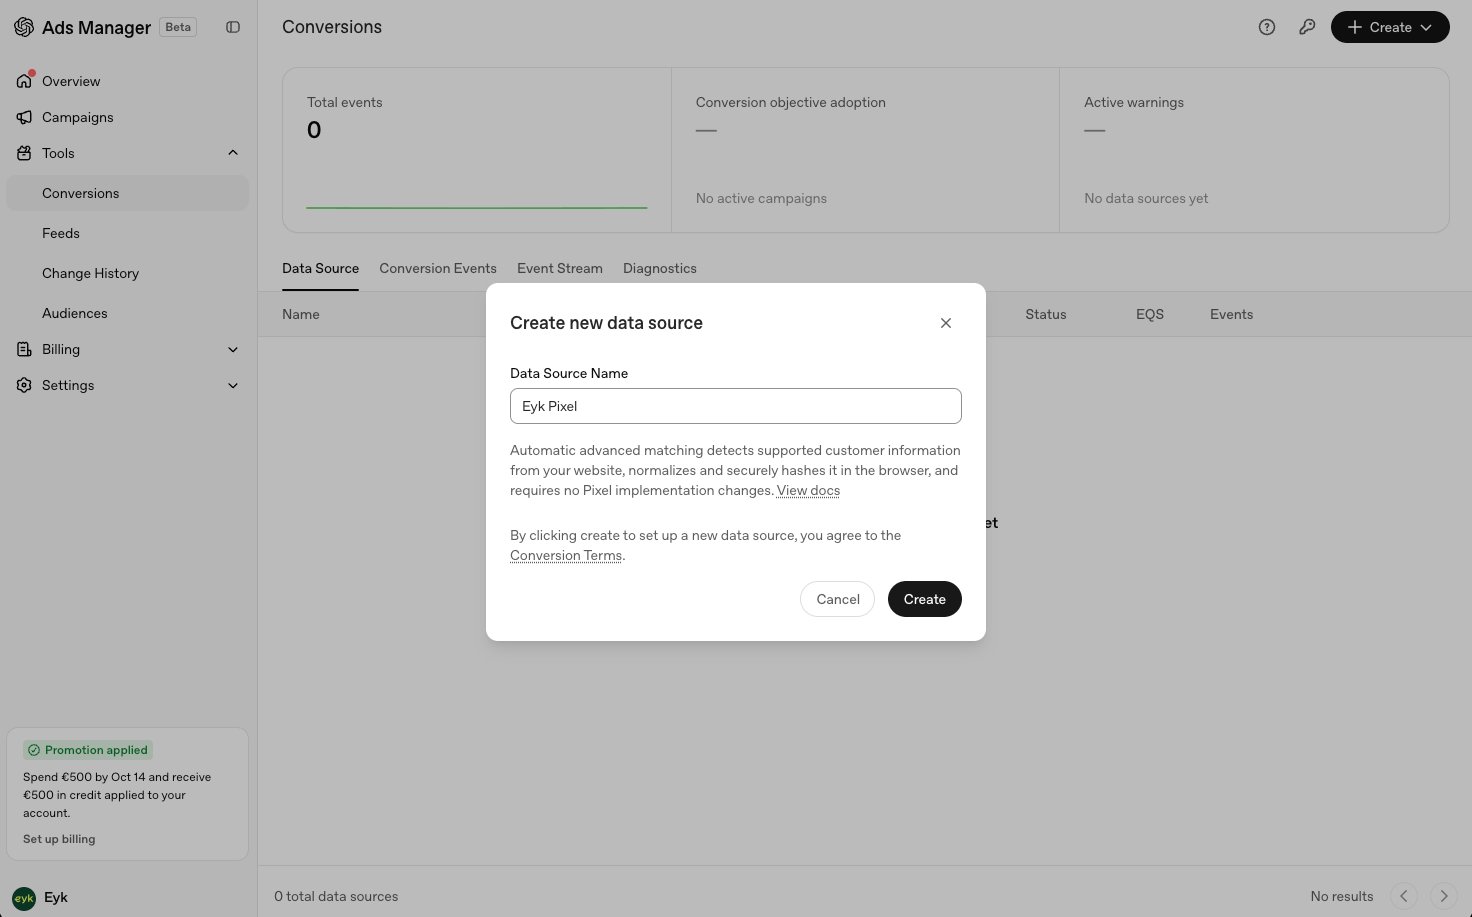
Eyk Pixel and click Create.5
Copy the pixel ID
The Set up your data source screen opens. Copy the Pixel ID. You need it in Part 2. Ignore the setup code and close the screen with the X in the top-right corner.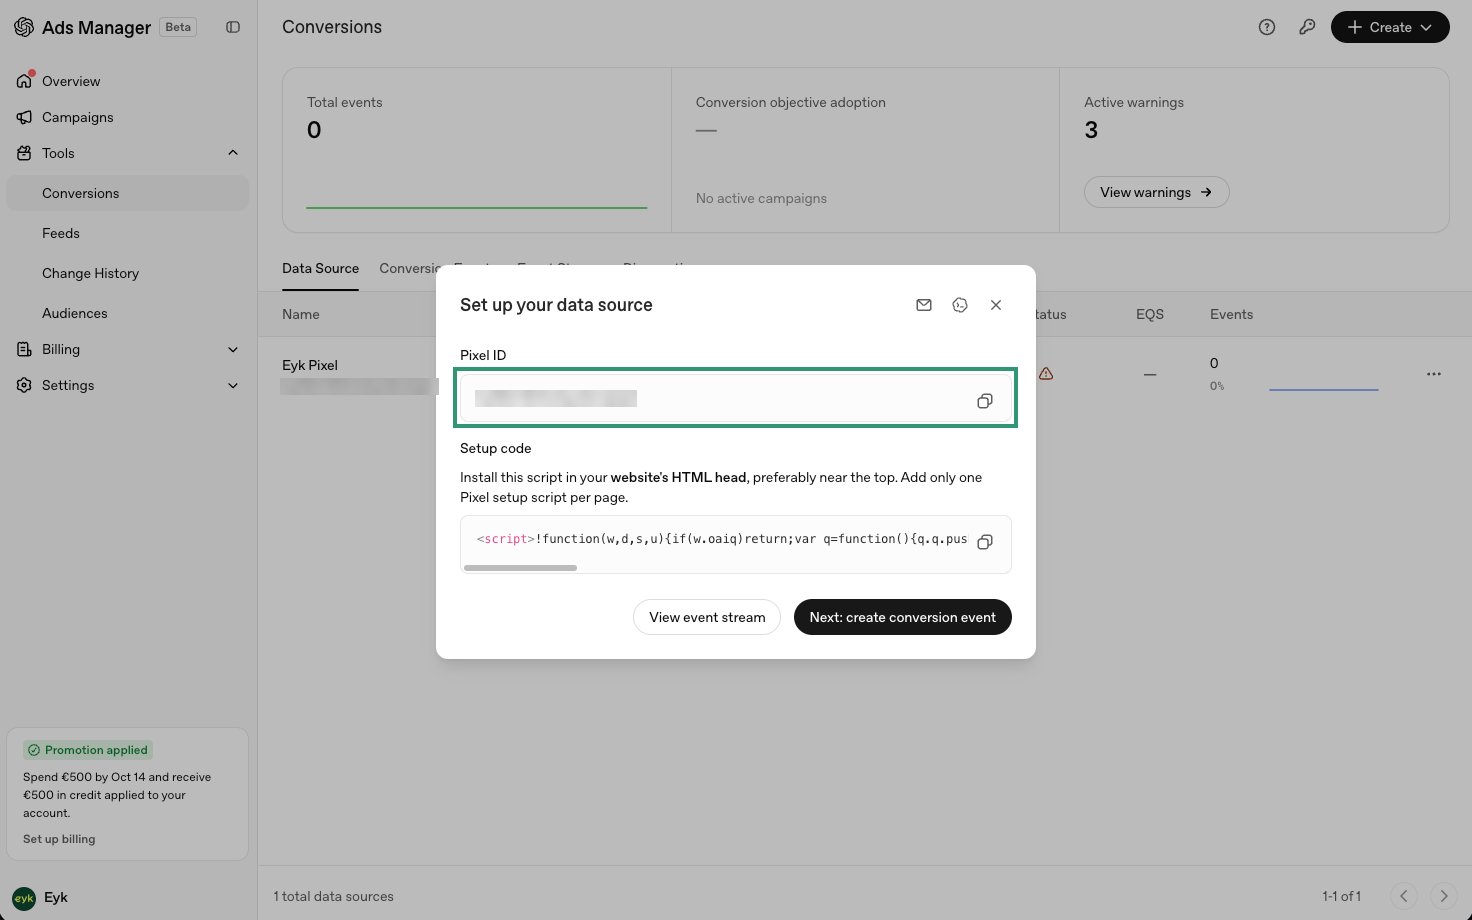
You do not need to install the setup code on your website. Eyk’s tracking sends the events for you.
6
Open conversion keys
Back on the Conversions page, click the key icon next to + Create in the top-right corner.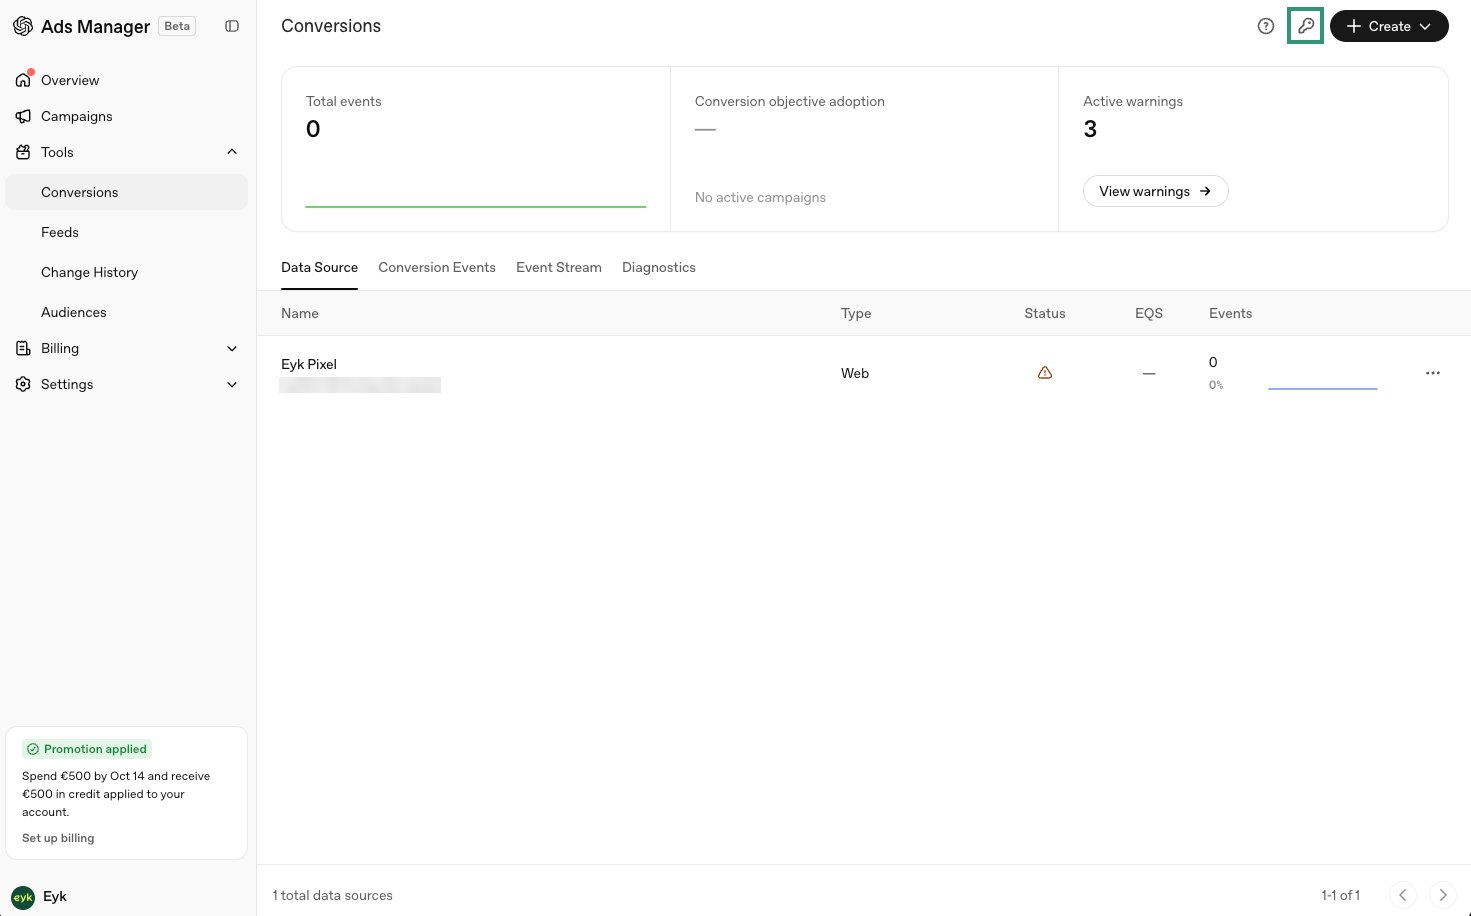
7
Create a conversion key
In the Conversion keys panel, click + Create new key.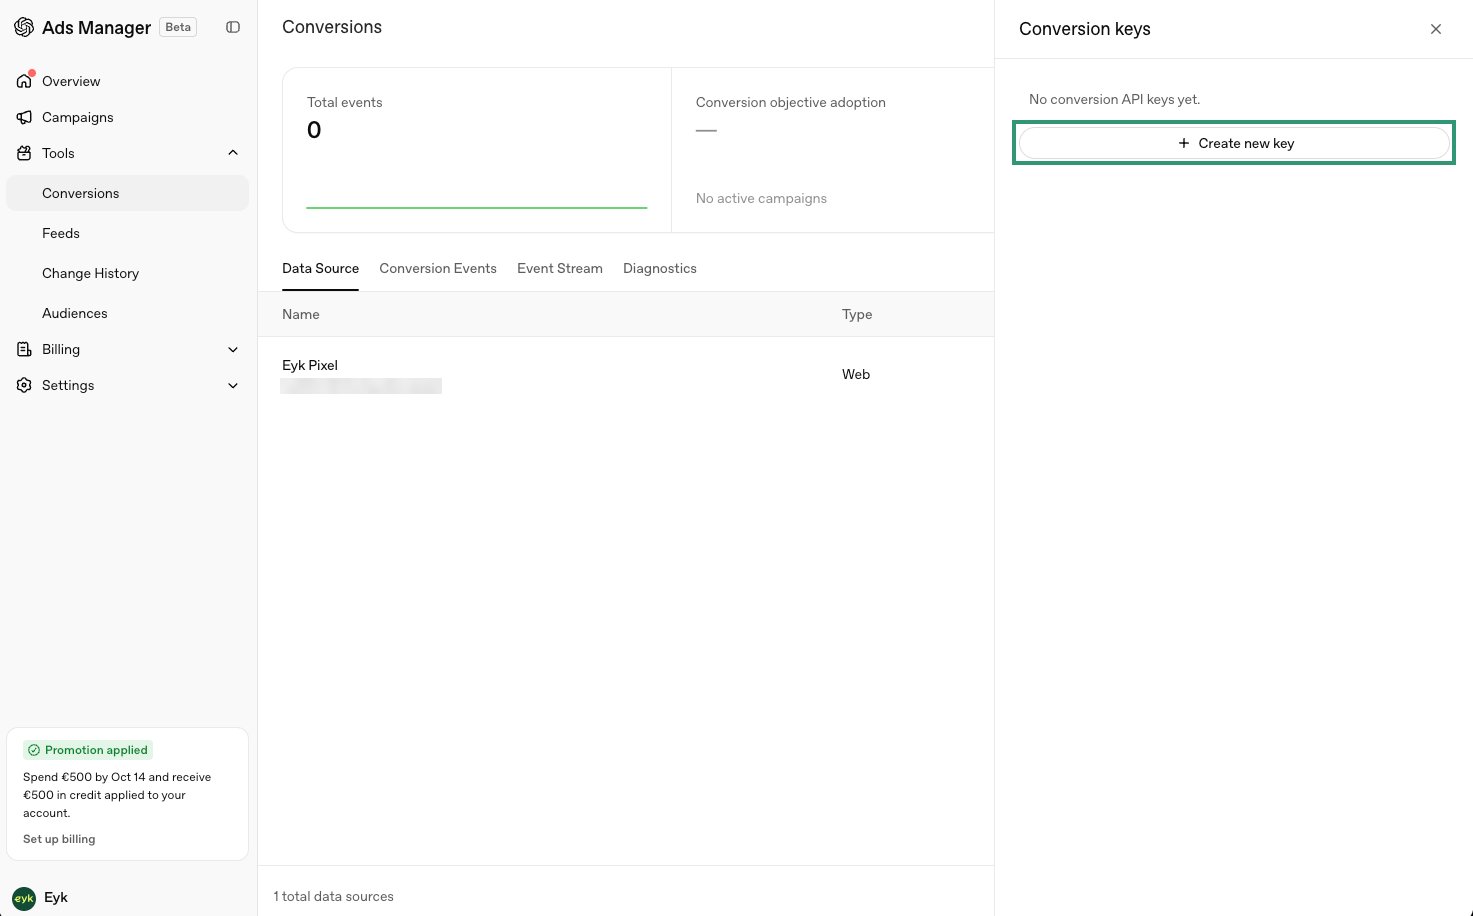
8
Name the conversion key
For Name enter 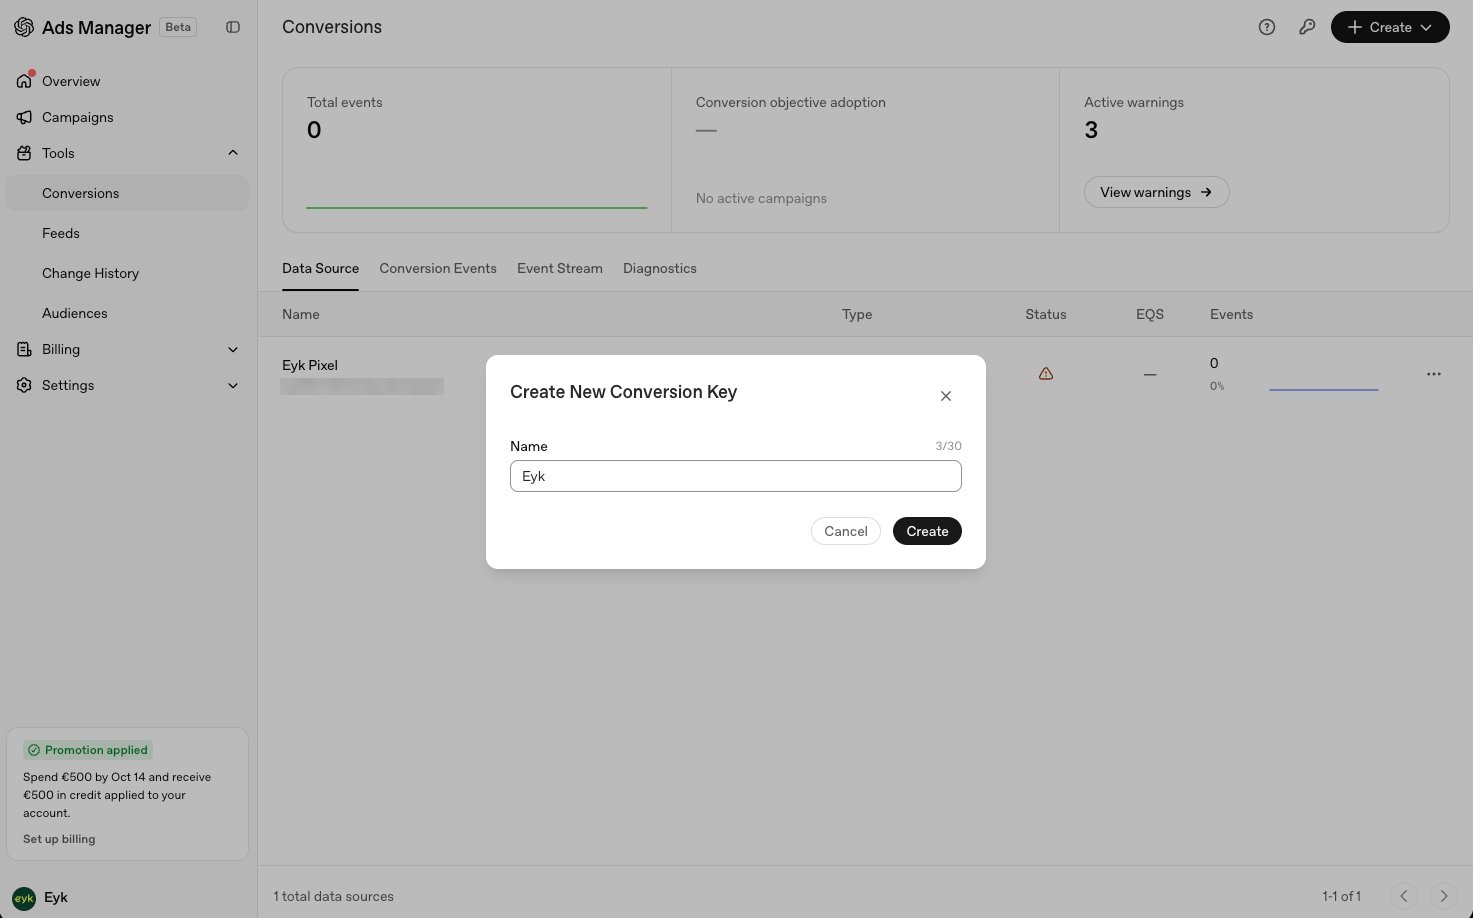
Eyk and click Create.9
Save the key
On the Save your key screen, click Copy and store the key somewhere safe. You need it in Part 2.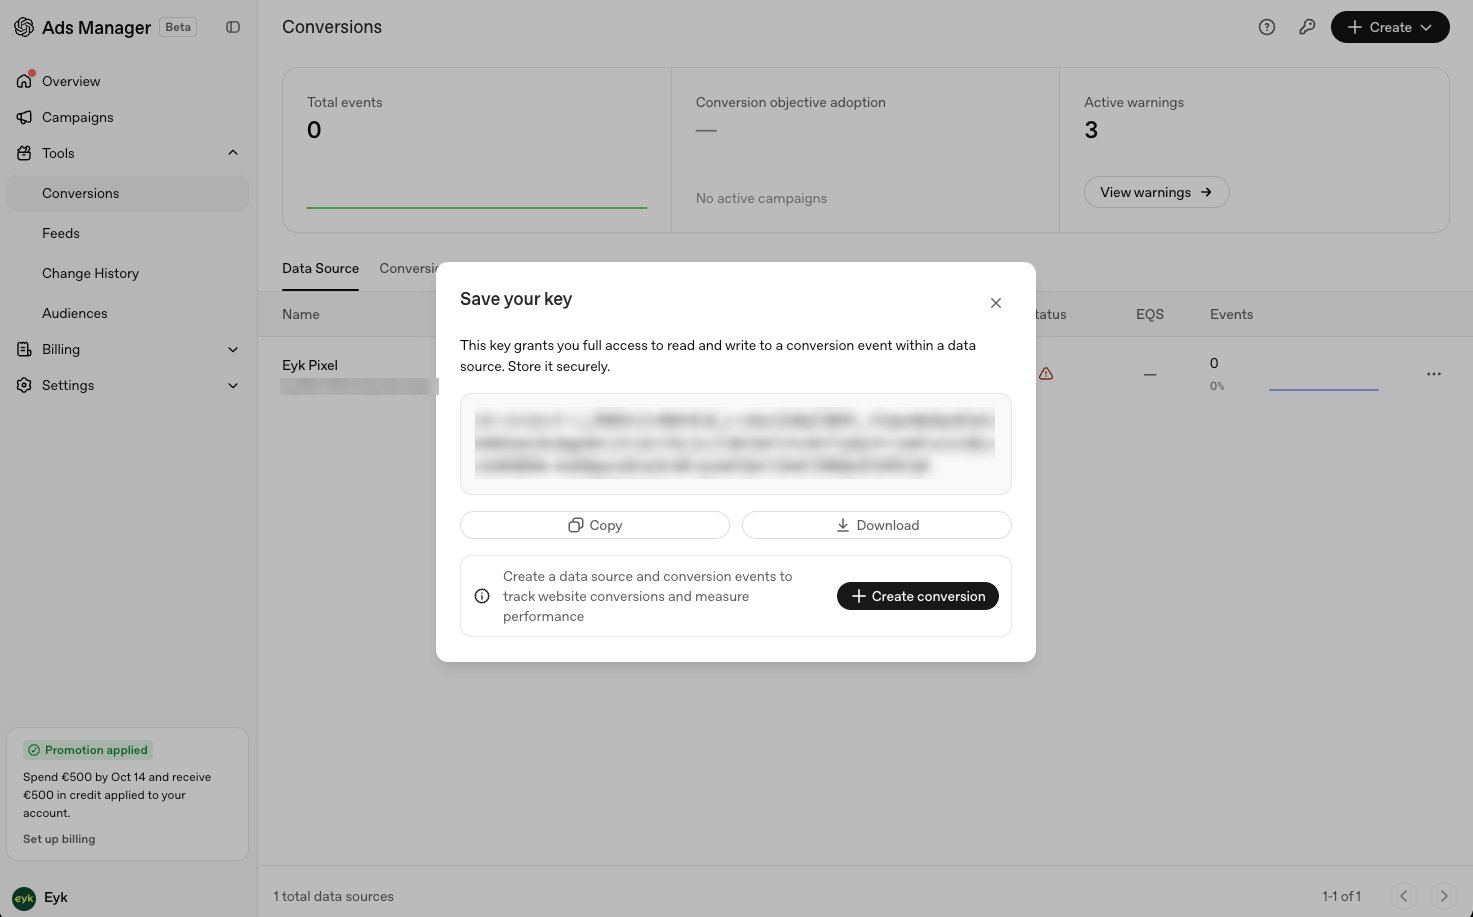
Part 2: Add the destination in Eyk
1
Add a destination
In Eyk, go to Tracking and click + Add destination.
2
Select OpenAI Ads
Select OpenAI Ads from the list of destinations.
3
Enter your credentials
Enter the Pixel ID and the Conversions API key from Part 1, then click Start verification.